
Use PDF Tools → Process PDFs for the tasks below. Begin with copies of your source files and review Output Options before processing. The default writes processed files beside the originals; replacing originals is a separate choice. See Processing PDFs for the operation reference.
Fit A4 drawings onto Letter sheets
- Add your drawing PDF with Add PDF(s), or drag it into the source list.
- Under Preset, select Drawings, onto Letter to preserve existing margin content, or Drawings — clear margins, fit to Letter to remove it.
- Review the selected operations. These presets rotate sideways pages, fit the drawing area proportionally onto Letter, add scan targets, and enable Prevent USPTO dotting. The clear-margin version also renders the pages to remove the covered margin content.
- Enable Pre-filing check if you want a report with the output, then click Process.
- Open the result from Activity. Check the first and last sheets and any unusual pages. Confirm that figure labels, fine lines, shading, and dimensions remain legible and within the intended margins.
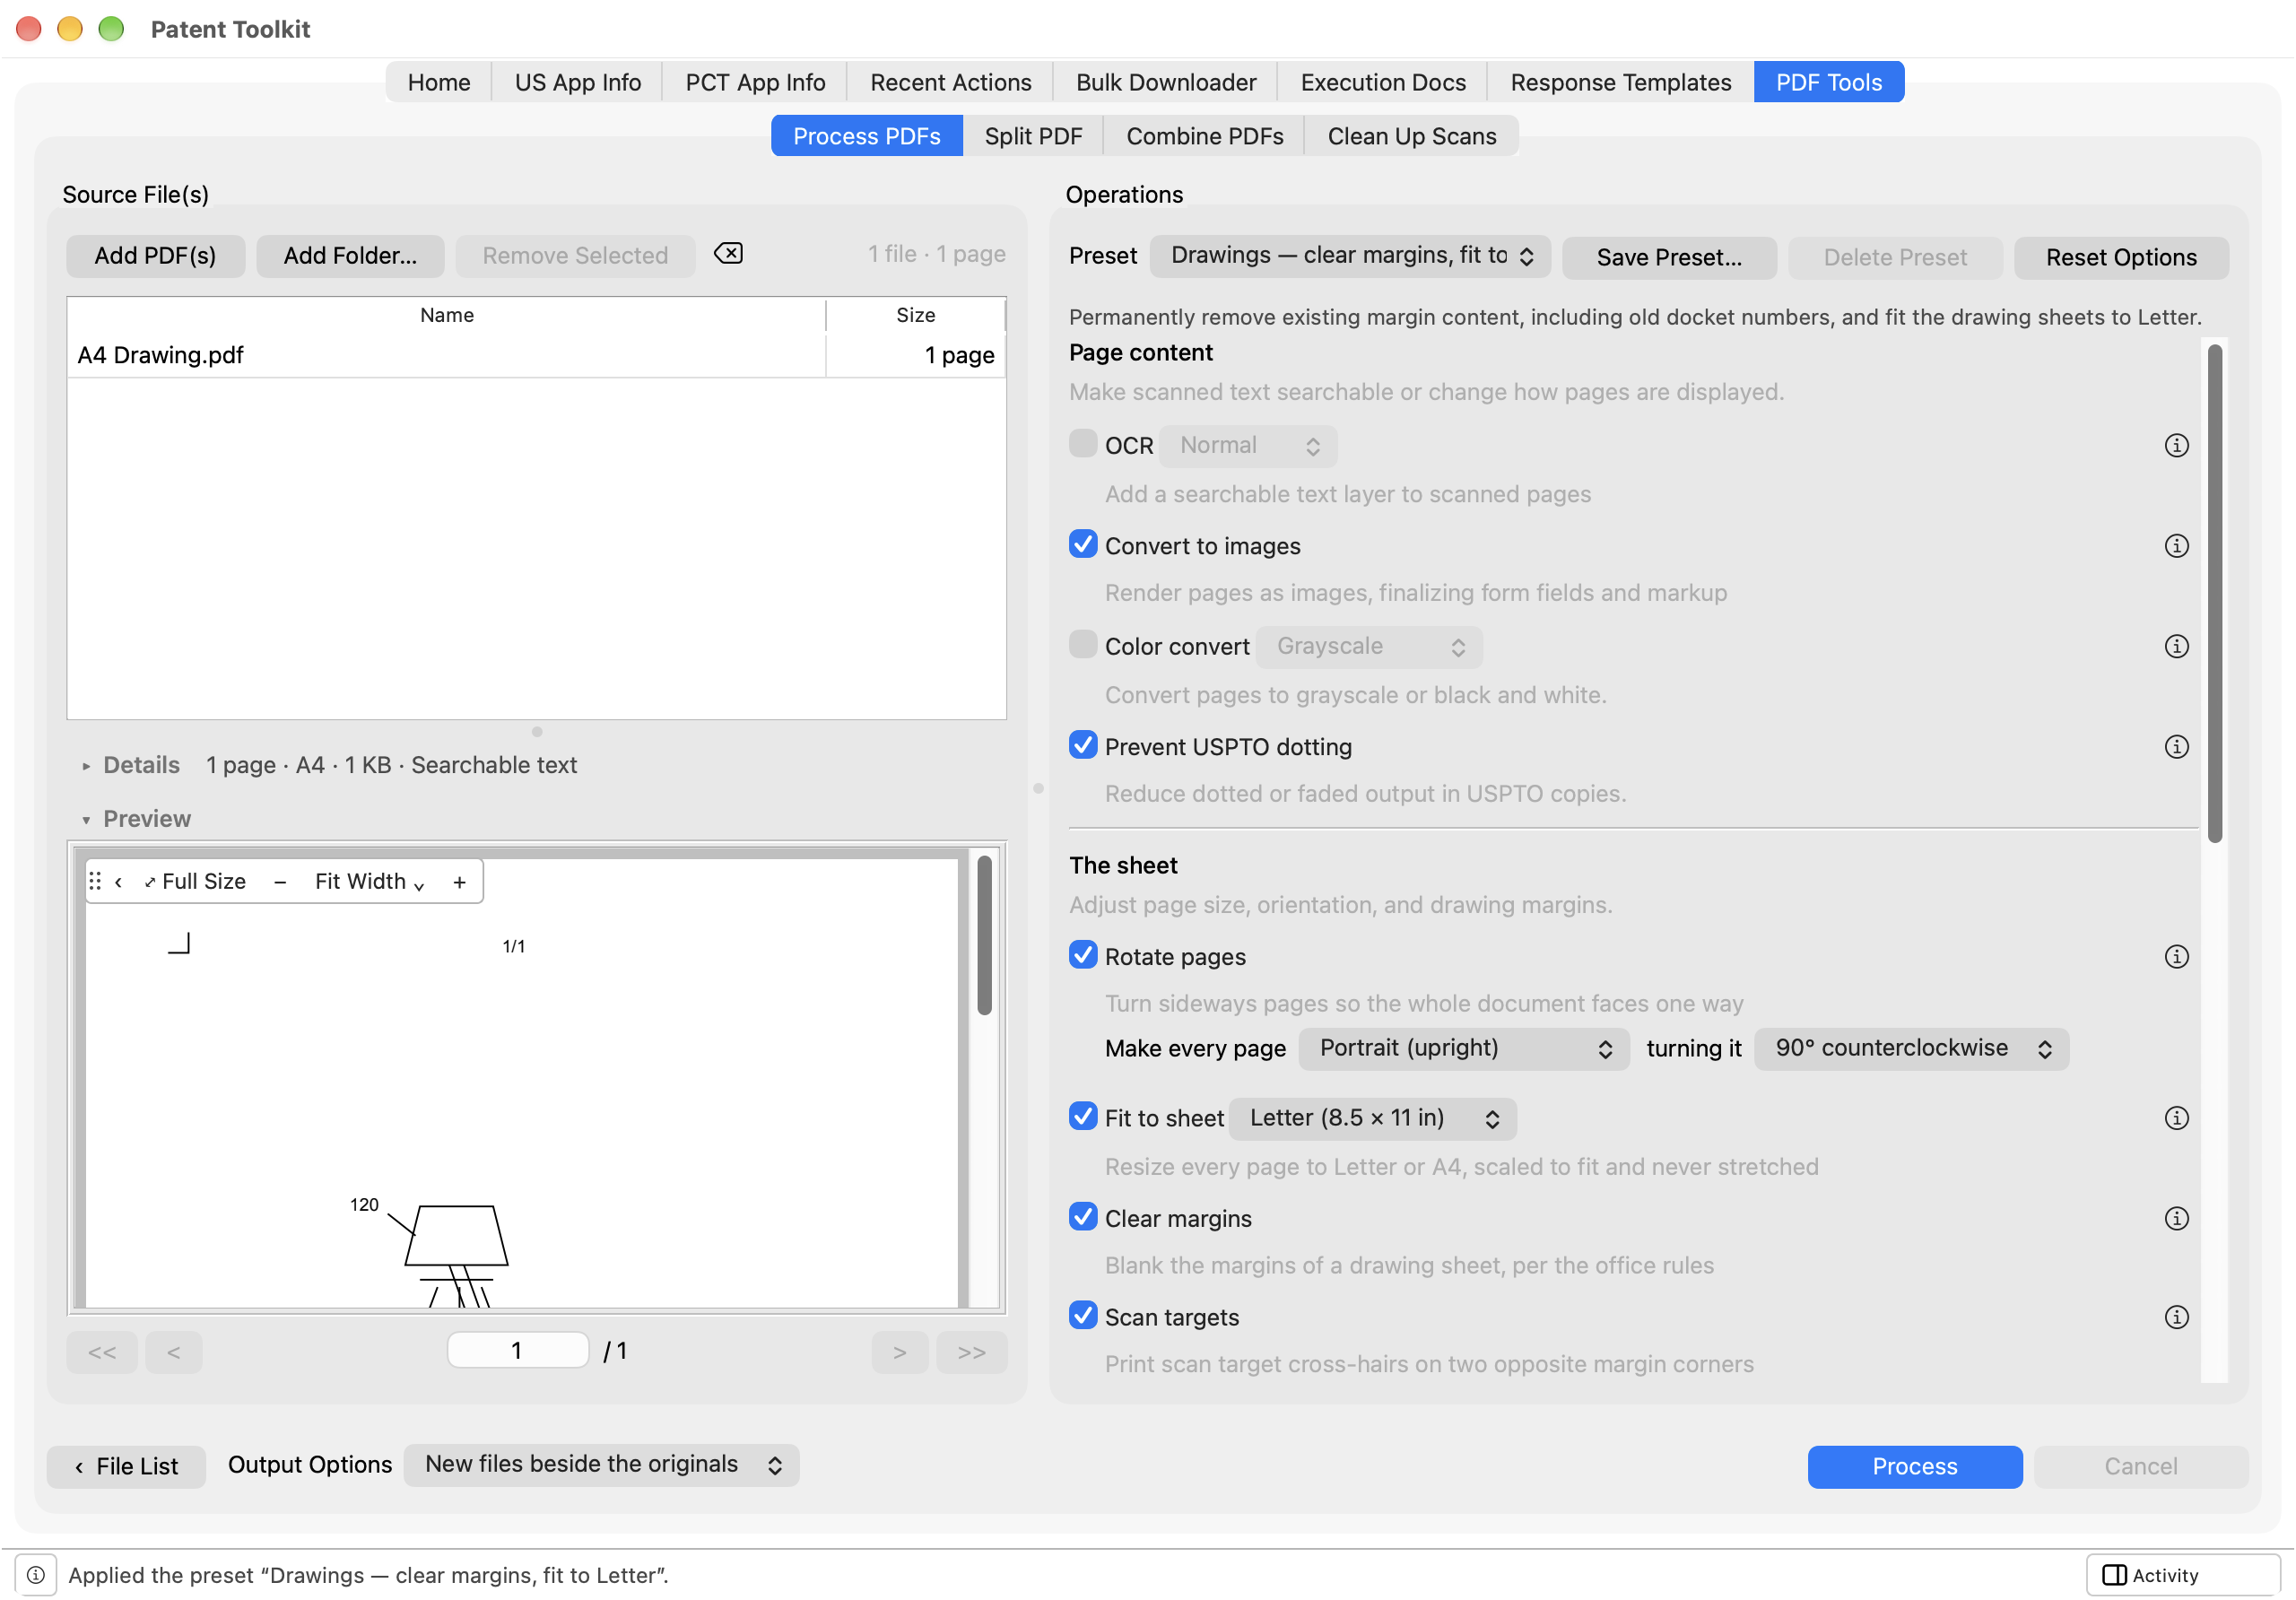
Fitting a page changes its scale; it does not stretch it independently in each direction. Existing scan targets are replaced by the Letter drawing preset. Prevent USPTO dotting reduces the risk of dotted or faded black in USPTO’s copy.
Clear margins and add scan targets
For sheets already at the desired size, choose Drawings, as drafted to keep margin content or Drawings — clear margins to remove it. Both add scan targets. Use the operation’s ⓘ control to review the margin and target settings.
Margin and scan-target operations work on upright Letter or A4 sheets. If a page has another size, use Fit to sheet first; otherwise those operations can be skipped for that page.
Clearing margins alone hides content with an overlay. To remove the covered content from the output, also select Convert to images or Color convert in the same run, as the clear-margin presets do. Flattening and OCR alone do not make the overlay permanent removal. Rendering also replaces native text with an image; add OCR if searchable output is needed, and inspect it afterward.
Bates-number a batch
For example, to number a batch EXH-000001, EXH-000002, and so on:
- Add the PDFs in the order you want them numbered. Review the source list before running; Bates numbering continues across files.
- Choose Bates-number a production under Preset.
- Review the header and footer fields. Use + → Bates number to insert
{bates}in the desired position. A Bates token must be present to enable numbering. - Set Prefix to
EXH-, start at to1, and digits to6. Check that the mark’s position will not cover document content. - Click Process, then check the first and last page of each output file for continuous numbering and legibility.
A page-number token counts pages within a document; a Bates token continues across the batch. If you also use Split to size, the total-page token uses the document’s page count before splitting. Save a useful combination with Save Preset… and check the starting number before each new batch.
Read the filing-check report
Enable Pre-filing check for a processing run, or start with the Check before filing preset, which writes only the report and leaves the PDF unchanged. Open the TXT report from Activity, or beside the output when the check ran with other operations. It flags common issues such as encryption, unembedded fonts, attachments, filenames, page sizes, and scan quality.
Read the findings for each file, correct the relevant issue, and inspect the resulting PDF. A clean report covers the app’s checks; it does not establish compliance with every filing requirement or guarantee acceptance.
If an operation was skipped, check the page’s orientation and size. For a password or output-folder error, follow the result message and retry after correcting it. Use connection and support diagnostics when a reproducible failure remains.